
PORTAL LOGIN(opens in a new window)
Not registered for portal? Please contact the portal administrator in your organisation to arrange access.
You can check the status of previously lodged claim request in the VMIA portal by scrolling down to the bottom of the portal homepage and clicking on the ‘My open cases’ tab. In this view, you can see your active and complete claims. Refer to the ‘Status’ column to check the status of a given claim.
Note: not all claims that have been lodged are captured in the portal. If you wish to see a full claims history, please contact your Risk Adviser.
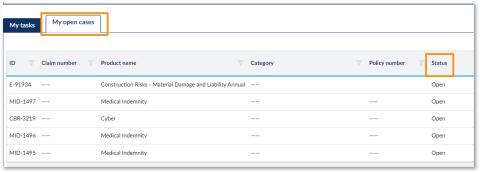
Step 1. On the homepage, scroll down and click on ‘My open cases’. In this view, you can see your active and complete claims. Refer to the ‘Status’ column to check the status of a given claim.
Tip: If you need to enquire about a claim, you can use the claim or policy number for easy reference.

Tip: You can apply filters to the list by clicking on the funnel icon beside the column title.
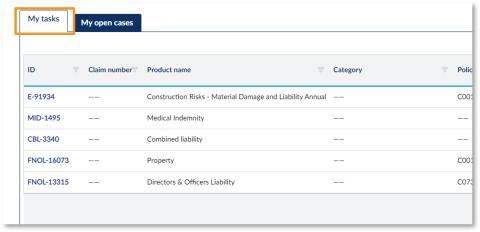
Tip: Click on the ‘My tasks’ tab to see actions you need to take e.g., your invoices, policy quote approval.
You can enable privacy on a claim both before and after the claim has been submitted, allowing you to restrict access to the claim to specific users in your organisation. To view and/or update privacy details on an existing claim (i.e., whether privacy is enabled and if yes, which users have access to the private claim), navigate to the ‘My claims’ tab on the portal homepage, locate the claim that you wish to view/update privacy details for, click on ‘Actions’, and select ‘Manage privacy’. A pop-up will appear which will allow you to view and/or edit the privacy details on the claim.
Step 1. On the homepage, scroll down and click on ‘My open cases’. In this view, you can see your active and complete claims. Refer to the ‘Status’ column to check the status of a given claim.
Tip: If you need to enquire about a claim, you can use the claim or policy number for easy reference.
Tip: You can apply filters to the list by clicking on the funnel icon beside the column title.
Tip: Click on the ‘My tasks’ tab to see actions you need to take e.g., your invoices, policy quote approval.
You can add additional attachments to open claims from the ‘My claims’ tab on the VMIA portal by locating the claim you wish to add an additional attachment(s) to and selecting ‘+ Add new’ from the ‘Attachments’ tab. You will then be able to upload a file(s) from your device and attach it to the claim.
Note: The claims handler will be notified that additional documents have been attached, so there's no need to email them separately.
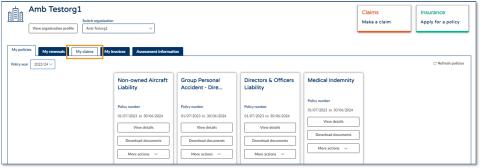
Step 1. From the portal homepage, click on the ‘My claims’ tab.
Step 2. Click on the claim you wish to add an additional attachment(s) to.
Step 3. Click on the ‘Attachments’ tab.
Step 4. Under the ‘Attachments’ tab, click on ‘+ Add new’. Once you do so, a window will appear asking you to select the files you wish to attach to your claim.
Step 5. Click on ‘Select file(s)’ OR drag and drop your file(s) directly from (for example) an email or a location on your computer.
Step 6. Locate the file(s) on your computer that you would like to add to an open/existing claim.
Step 7. Once you have selected the relevant file(s), click ‘Open’ to upload the file(s).
Step 8. Input the ‘Author’ of the file (i.e., the name of the person who authored/wrote the file you are attaching).
Step 9. Input the 'Document date' (i.e., the date the file was authored/written).
Step 10. Input the 'Name' of the file (e.g., Statement of Claim).
Step 11. State the urgency of the file (Yes/No). *The urgency of the file will be depicted in the notification email sent to the relevant claim handler upon submission of a new attachment. Important: Please only select ‘Yes’ if the attachment is truly urgent/requires immediate action so it receives the appropriate priority.
Step 12. Click ‘Attach’.
You have now successfully added a new attachment to your claim! Note: When you click ‘Attach’ (Step 12) your artefact will be uploaded to the ‘Attachments’ tab, and the relevant claim handler will be notified.
You can filter the ‘My claims’ view on the VMIA portal to only show claims that meet certain criteria. For example, you might want to only see claims that were lodged after a certain date or only claims that relate to a specific type of loss/damage (e.g., property). It is possible to filter the ‘My claims’ view by:
- 1. Group
- 2. Field
- 3. Column
After you have filtered the ‘My claims’ view, you can save the view on the portal so that you can access it easily at a later stage.
The following guide will show you how to filter the view from the ‘My claims’ tab and how to save a filtered view. Outlined below are steps on how to filter the claims by:
- Group
- Field
- Column
Step 1. From the VMIA portal homepage, click on the ‘My claims’ tab.
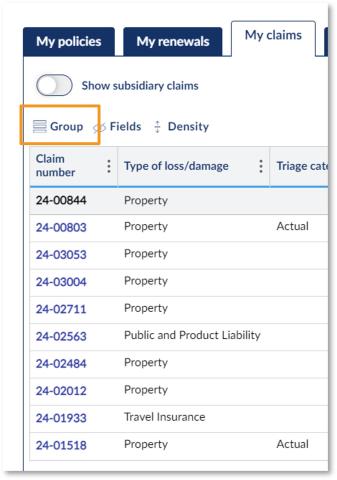
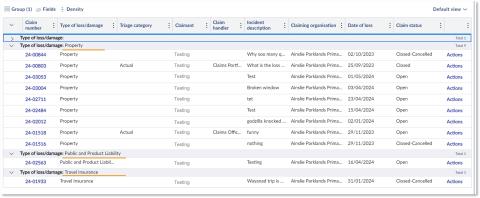
This section steps through how to filter claims by ‘Group’. When filtering by ‘Group’, your claims will be organised by the group filter you selected. For example, if you group by ‘Type of loss/damage’, your claims will be organised and grouped in alphabetical order by the type of loss/damage.
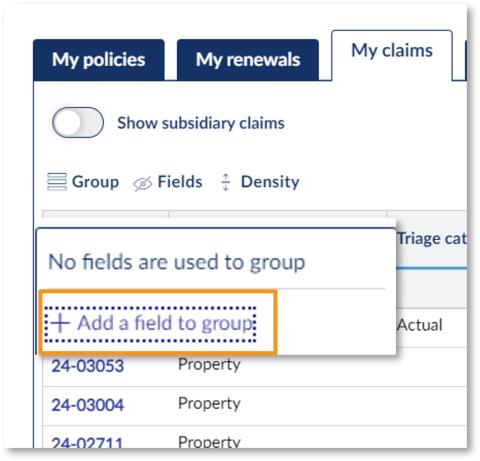
Step 1. Click on the symbol next to ‘Group’.
Step 2. Click on ‘+ Add a field to group’.
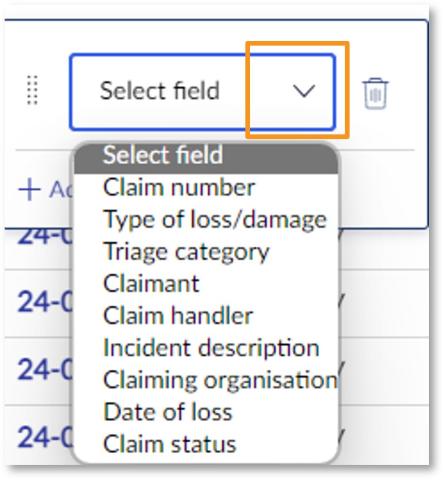
Step 3. Click on the drop-down arrow next to ‘Select field’ and choose the field you wish to group your claims by (e.g., ‘Claim handler’).
Example of your claims grouped by ‘Type of loss/damage
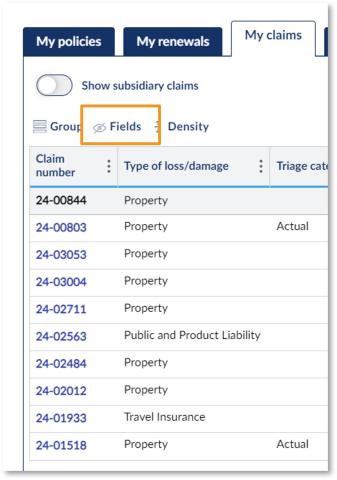
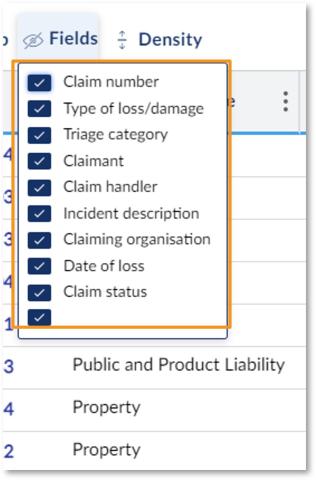
This section steps through how to filter claims by ‘Fields’. When filtering by ‘Fields’, you can select the columns you wish to show/hide on your ‘My claims’ view.
Step 1. Click on the symbol next to ‘Fields’.
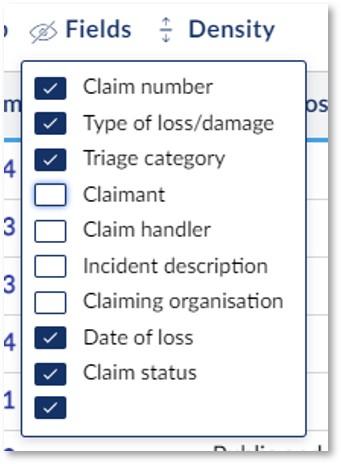
Step 2. Deselect the fields you wish to hide and select the fields you wish to show on your ‘My claims’ view.
Example of deselecting four fields to remove them from ‘My claims’ view.
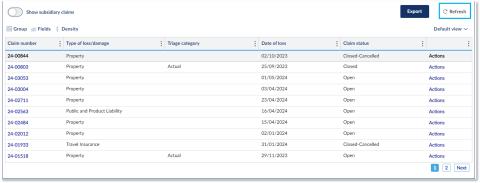
Step 4. To revert to the default view, click the ‘Refresh’ button in the top right corner.
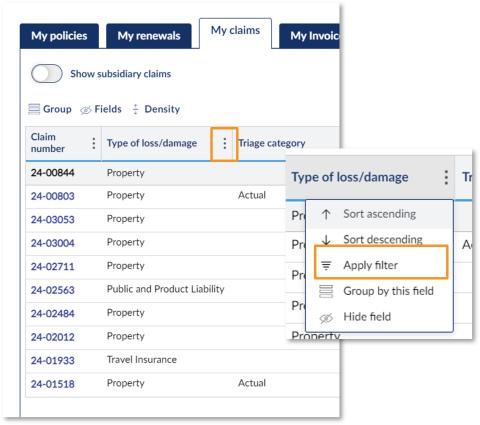
This section steps through how to filter claims by an individual column using the three dot next to the column heading.
Step 1. Click on the three dots next to the heading of the column that you wish to filter.
Step 2. Select ‘Apply filter’.
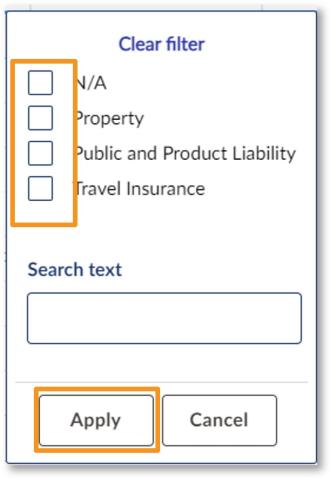
Step 3. Select the checkbox next to the value by which you wish to filter the column.
Step 4. Click ‘Apply’.
When saving a filtered view, you can switch between the default view and your saved views at any time. You can also save multiple different views, and switch between each view as required.
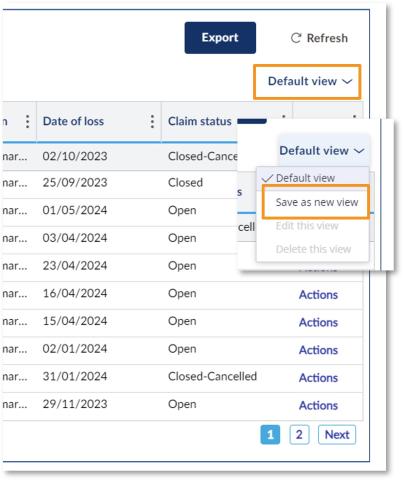
Step 1. Click on the drop-down arrow next to ‘Default view’.
Step 2. Click ‘Save as new view’.
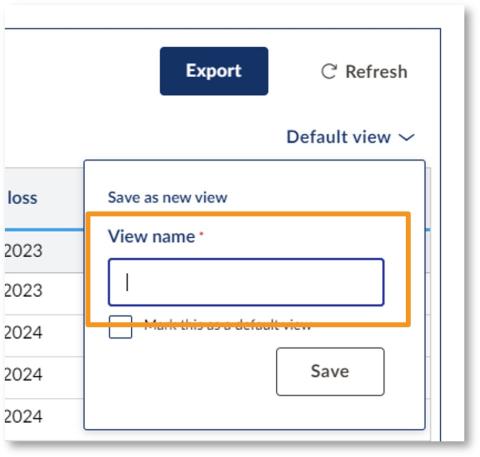
Step 3. Enter a name for your new view.
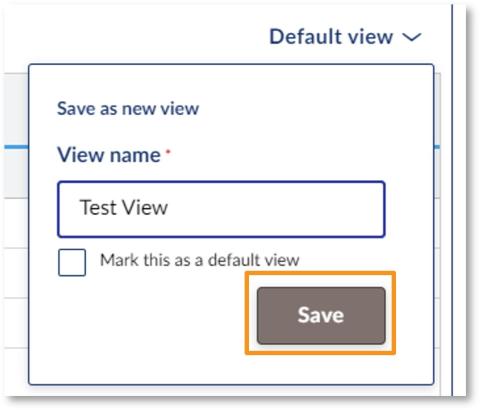
Step 4. Click ‘Save’.
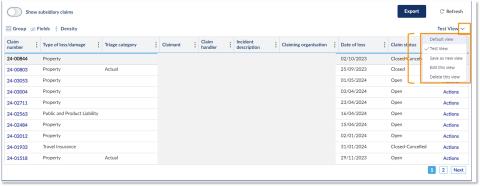
Step 5. You can switch between your views, edit your saved views, delete your views etc. by clicking the drop-down arrow beside the view name.
Updated